Overview
Menu restrictions are essential for WordPress sites where navigation links need to be shown only to specific users. Some menu items may be intended only for logged-in members, selected ProfileGrid groups, or group managers, while others should remain hidden from guests. The ProfileGrid Menu Restrictions extension provides an easy way to manage menu visibility based on user access rules, without requiring any custom coding.
In WordPress 6.9, block themes no longer use the traditional Appearance → Menus screen. Instead, navigation is managed through the Navigation block editor under Appearance → Editor. The ProfileGrid Menu Restrictions extension supports both classic menu-based themes and modern block themes, ensuring restriction settings continue to work consistently across all WordPress theme types.
Prerequisite
Before configuring menu restrictions, ensure that the ProfileGrid core plugin is installed and activated on your WordPress site. You must also have the ProfileGrid Menu Restrictions extension installed and activated, as it provides the required settings to control menu visibility based on user groups and access rules.
How to Configure Menu Restriction
Classic Themes (Menus Screen Available)
If your WordPress site is using a classic theme that supports the traditional Menus screen (for example, Astra), follow these steps to configure menu restrictions:
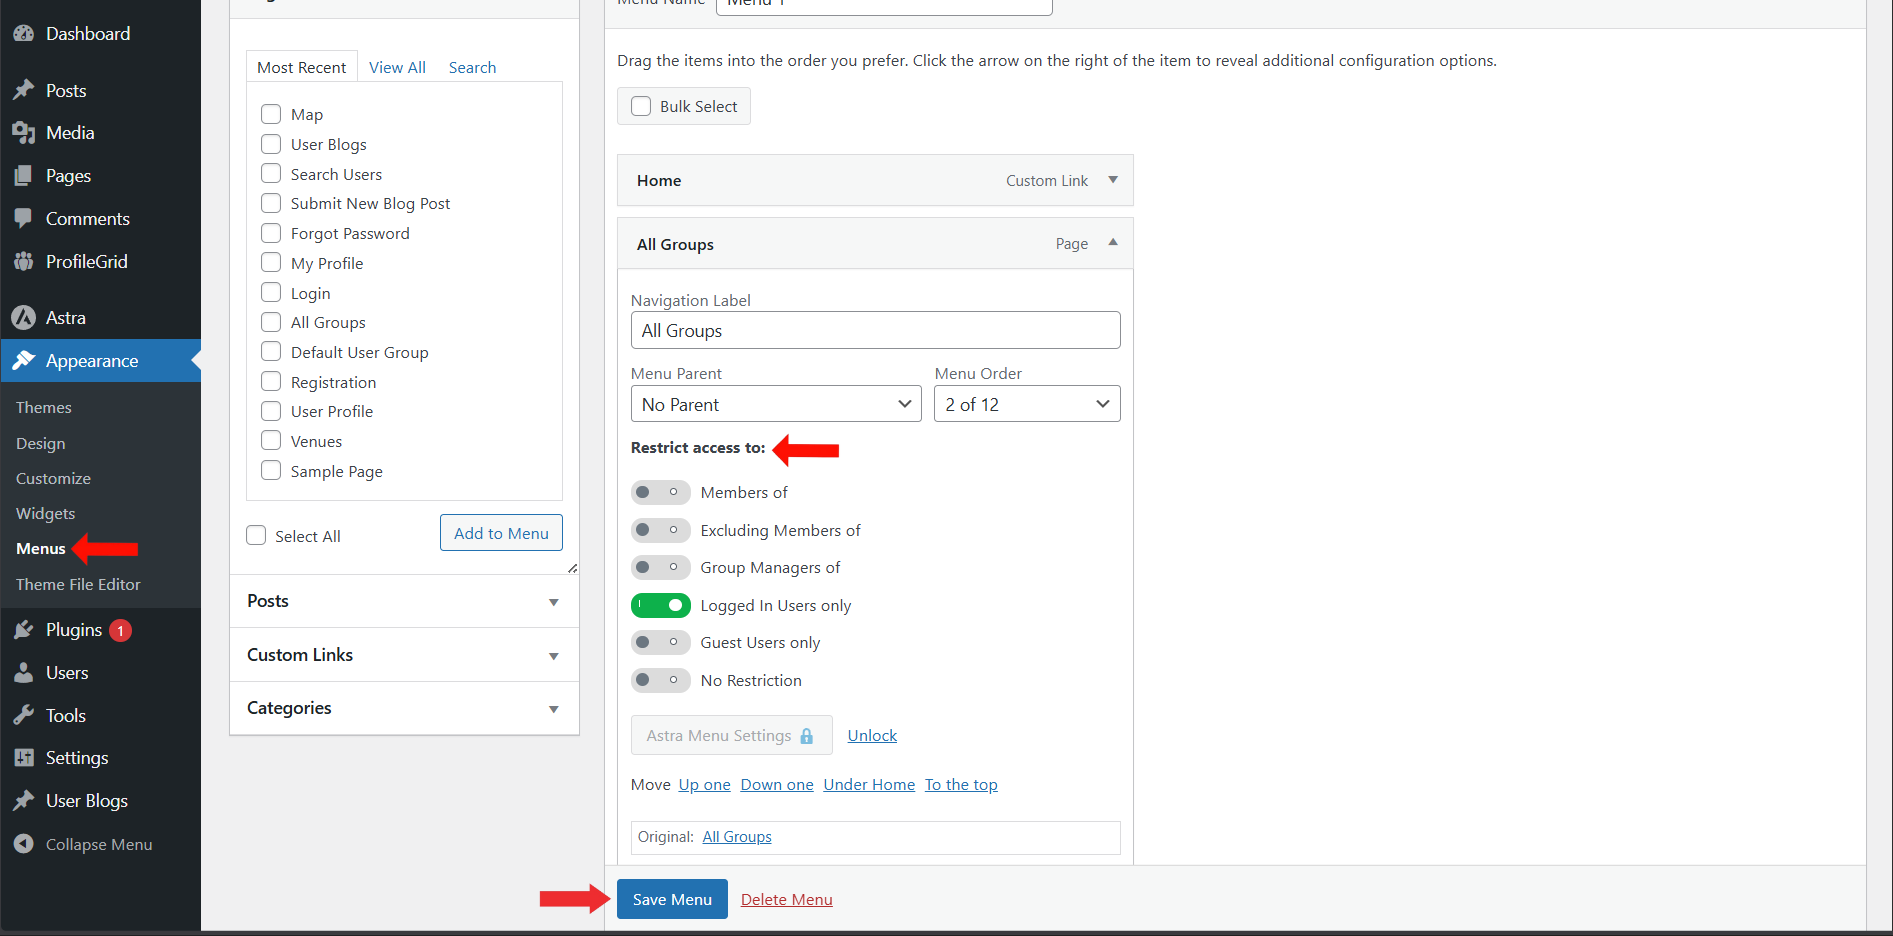
- Go to Appearance → Menus from your WordPress dashboard.
- Select the menu item you want to restrict.
- Expand the menu item settings panel.
- Scroll down to the Restrict Access To section.
- Choose one of the available restriction rules:
- Members of – Restrict access to members of selected groups.
- Excluding Members of – Allow access to all groups except selected ones.
- Group Managers of – Restrict access only to group managers of chosen groups.
- Logged In Users Only – Show the menu item only to logged-in users.
- Guest Users Only – Show the menu item only to guest visitors.
- Select the required ProfileGrid groups for the chosen rule.
- Click Save Menu to apply the restriction settings.
Block Themes (Navigation Editor in WordPress 6.9+)
If your WordPress site is using a block-based theme such as Twenty Twenty-Five, the classic Appearance → Menus option is replaced by the Navigation editor available under the Site Editor. You can configure menu restrictions directly from the Navigation block settings.
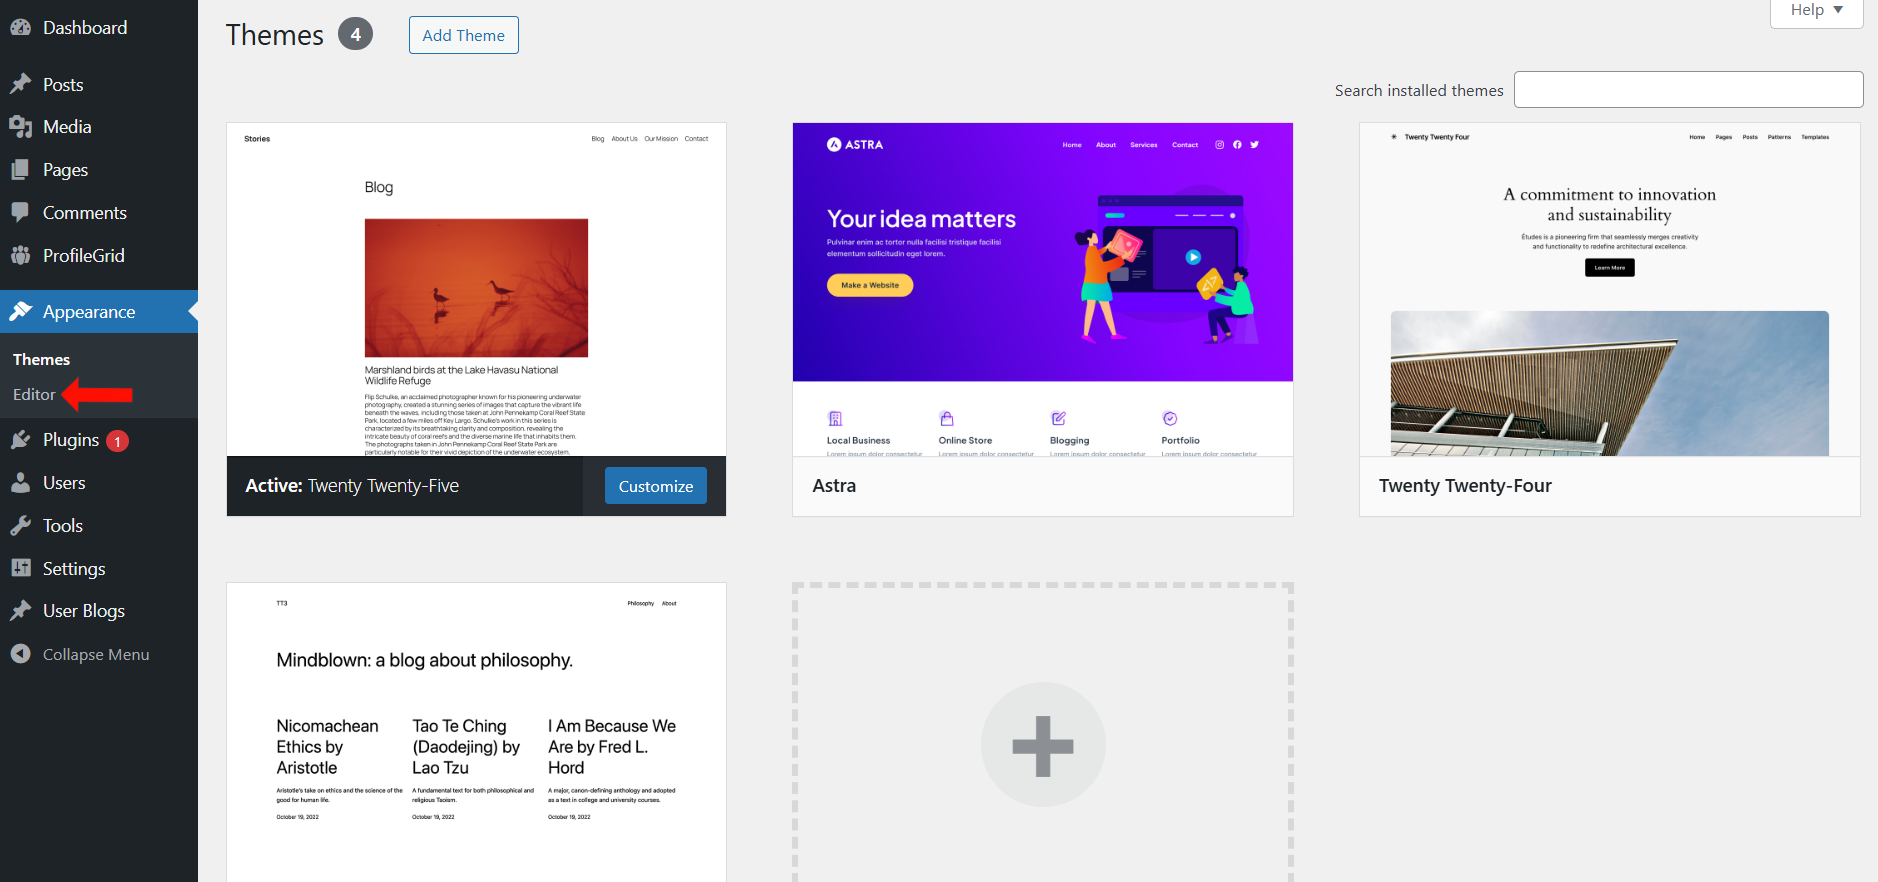
Step 1: Open the Site Editor
Go to your WordPress dashboard and navigate to Appearance → Editor. This is where block themes manage templates and navigation menus.
Step 2: Access the Navigation Menu
Inside the Editor, open the Navigation section from the left panel. This will display the list of navigation items currently used in your site header.
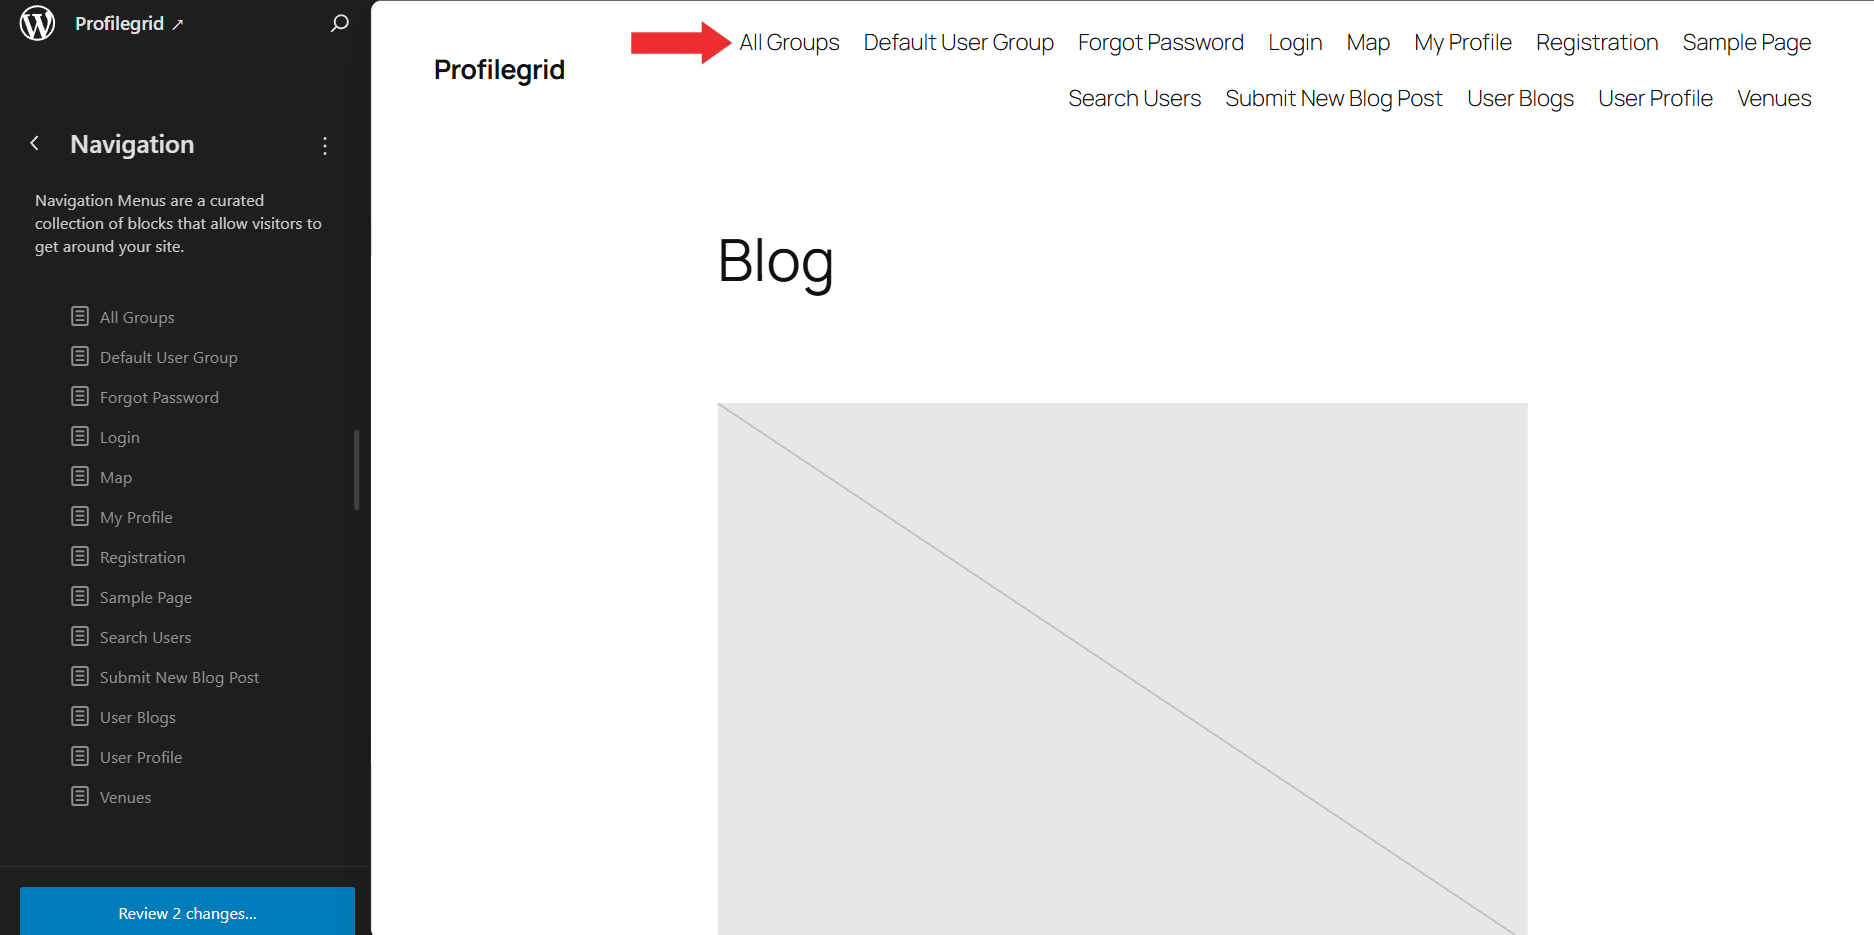
Step 3: Select the Navigation Link
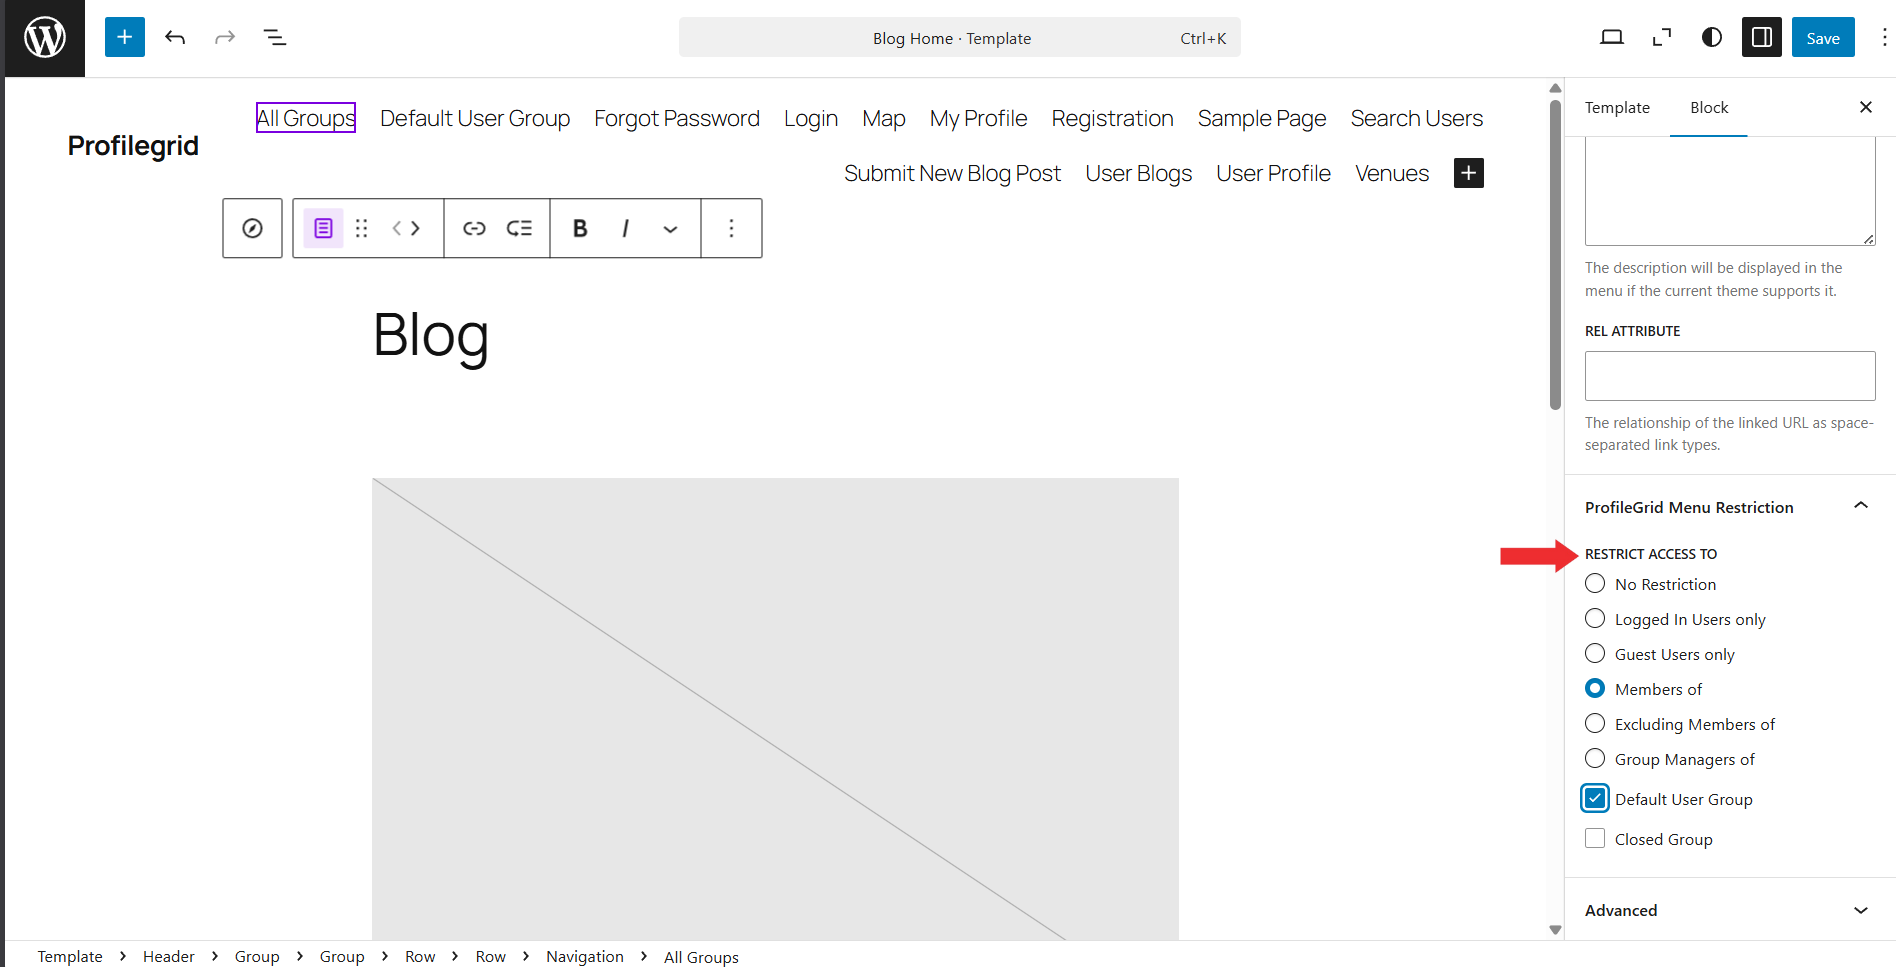
Click on the specific navigation item you want to restrict (for example, All Groups). The selected link will be highlighted in the editor.
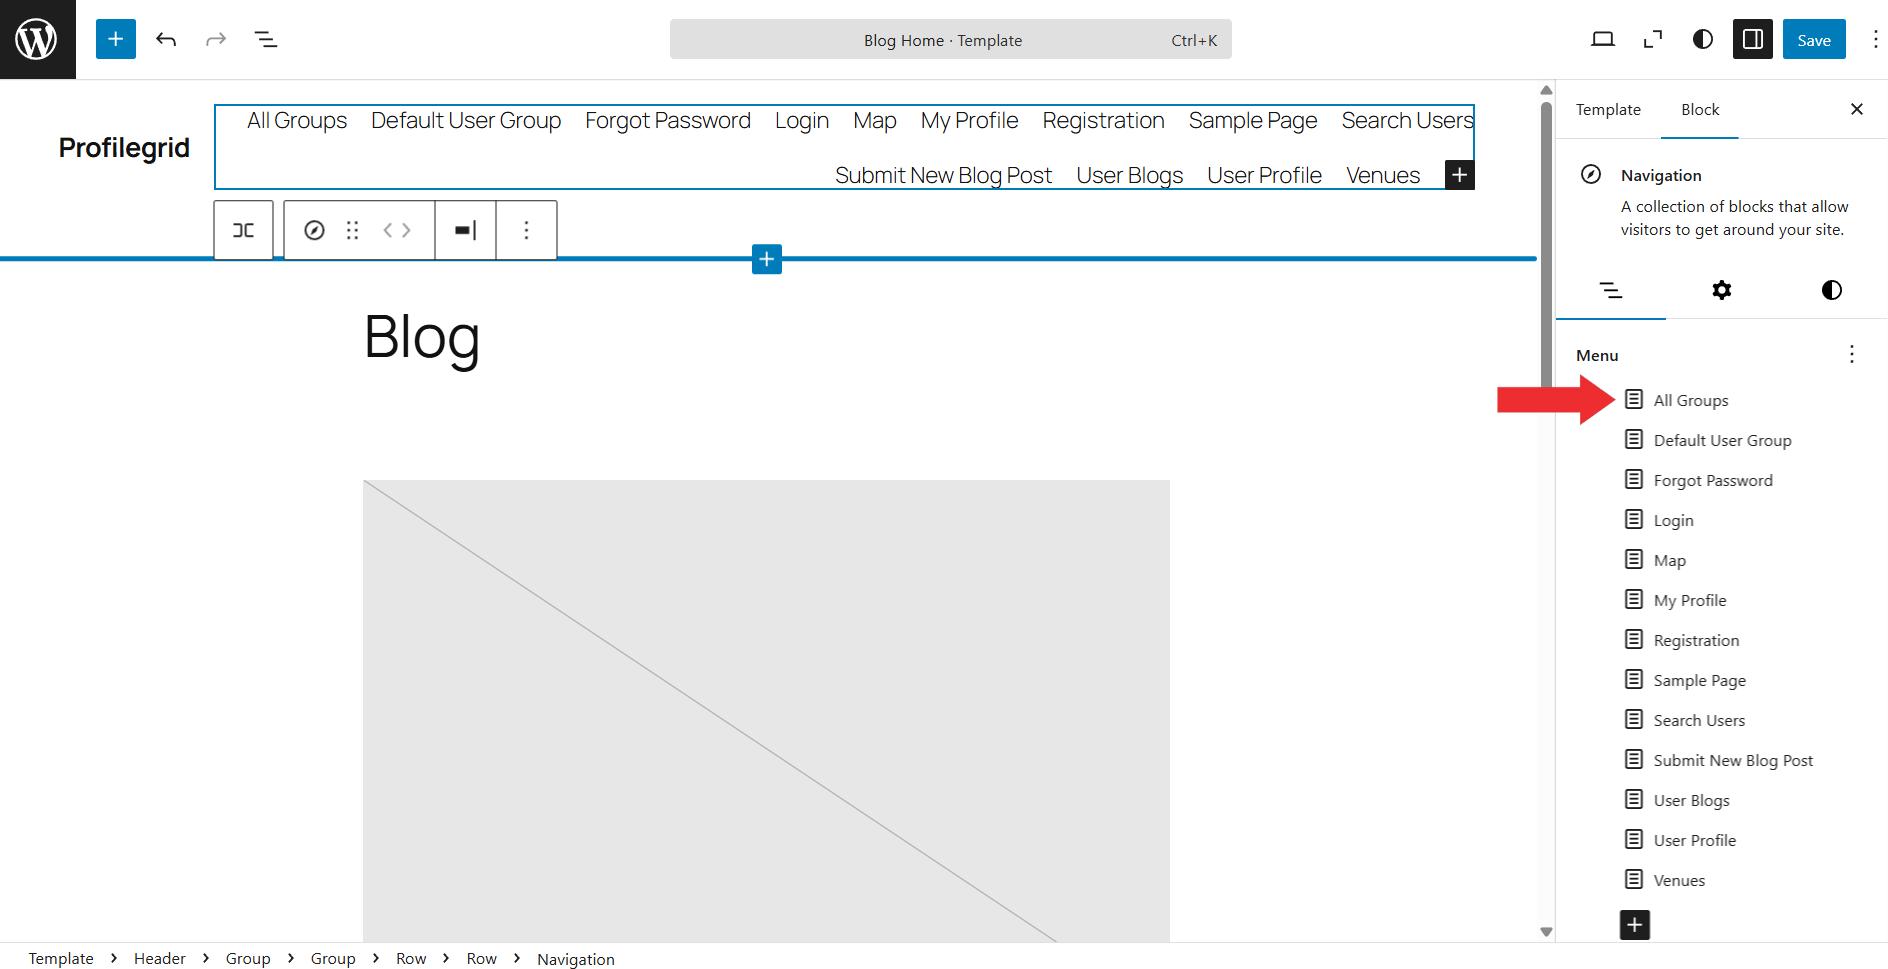
Step 4: Configure Restriction Rules and Save
In the right-side block settings panel, expand:
ProfileGrid Menu Restriction → Restrict Access To.
Select the required restriction rule (such asLogged In Users Only, Members of Selected Groups, or Group Managers of Selected Groups), choose the applicable ProfileGrid groups, and then click Save to apply the navigation changes.
This ensures that menu restriction settings work correctly even when the classic Menus screen is not available in WordPress 6.9 block themes.
Frontend View
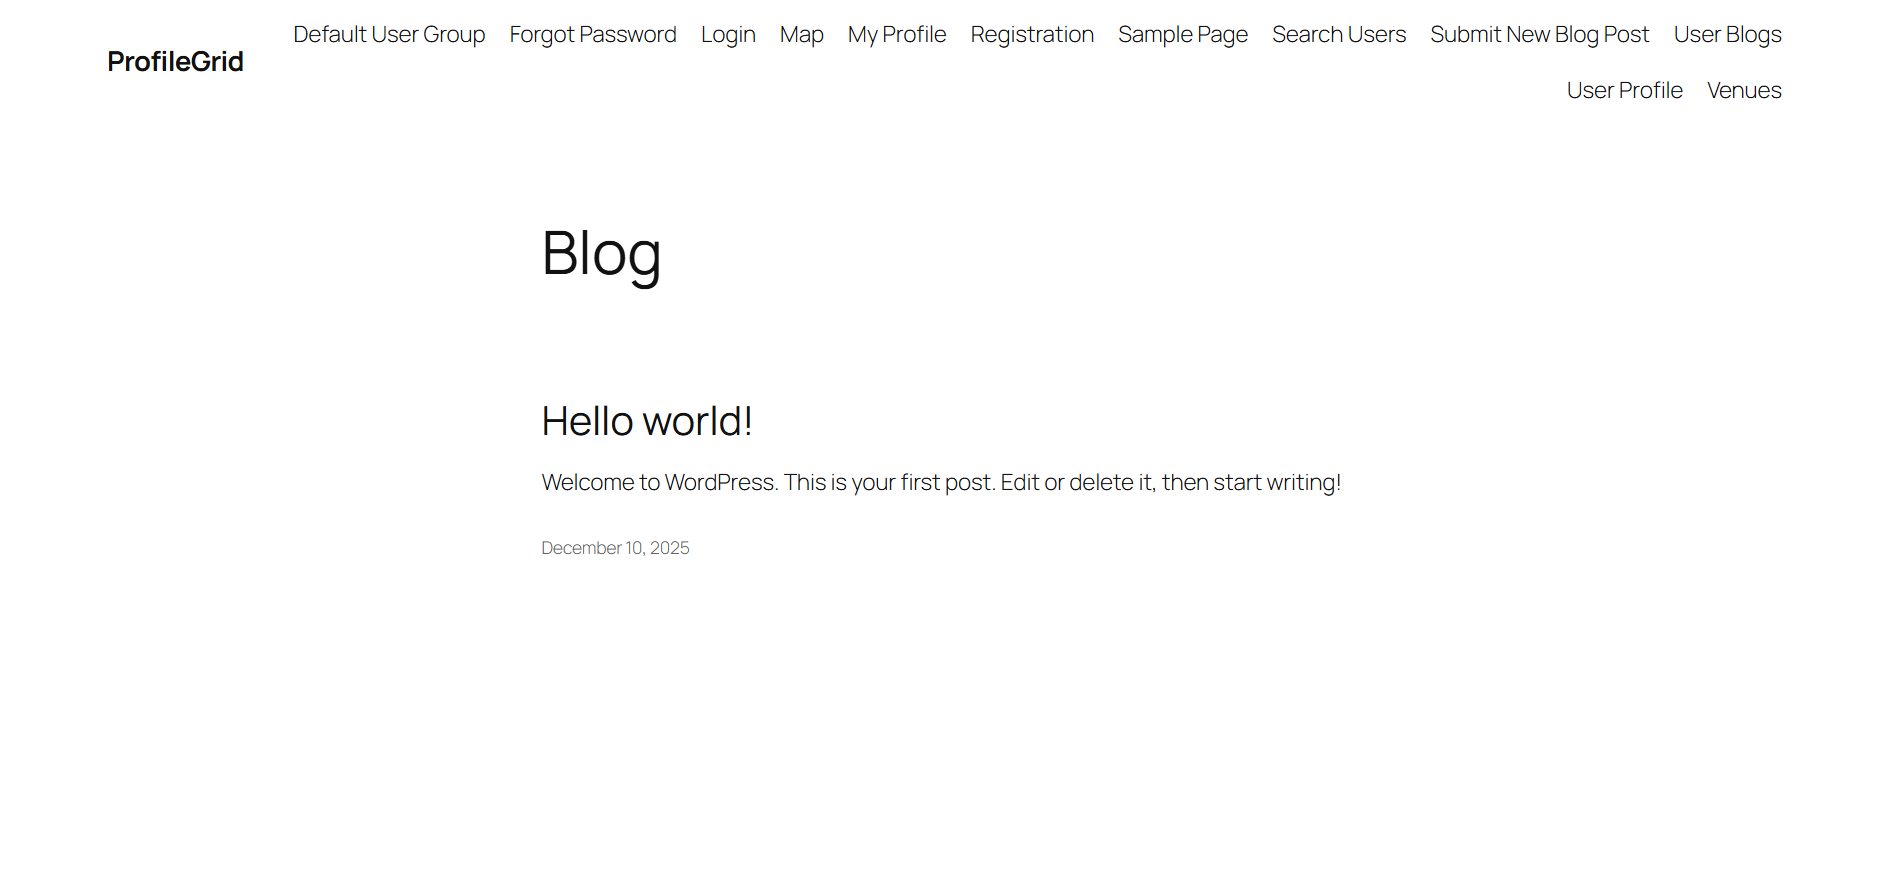
On the frontend, the navigation menu automatically updates based on the restriction rules you configured. Menu items that a visitor is not allowed to access will not appear in the header navigation at all. Guests will only see links meant for public access, while logged-in users will see additional items depending on their ProfileGrid group membership. If a menu item is restricted to specific groups or group managers, it will remain hidden for all other users, ensuring the navigation stays clean and only displays relevant links to each visitor.
Conclusion
The ProfileGrid Menu Restrictions extension provides a reliable way to control menu visibility based on ProfileGrid group membership, login status, and manager roles. It supports both classic themes using the Menus screen and modern WordPress 6.9 block themes using the Navigation editor. This ensures consistent access control and a personalized navigation experience across all WordPress environments.