What is a Community Website in WordPress
WordPress community websites are rapidly becoming more popular because of their ability to make a significant impact on users. Website administrators leverage this impact to increase product sales, generate customer leads, or accomplish specific website objectives. WordPress stands out as the most dependable platform for achieving these goals, mainly because of its user-friendly nature. All you require is a reliable WordPress community plugin and a practical guide to build a community site. In this article, we will explore the process of creating a community site in WordPress using the ProfileGrid plugin.
A ProfileGrid-enabled website comes with key community features like easy registration forms, a login page, personal profiles, interactive groups, and group walls. It gives you all you need to effectively host and engage your community members on your site.
Requirements Of A Community Site
To create a community site, all you need is a WordPress website hosted on a reliable hosting provider and the free ProfileGrid plugin installed.

Setting Up WordPress Community Site
ProfileGrid offers its own set of shortcodes. These cover everything from registration page to login page to setting up geolocation of users on your site. You can publish your community frontend through ProfileGrid shortcodes.

ProfileGrid, in addition to shortcodes, also generates default pages, including the User Group, Search Users page, Registration page, to name a few.
Registering your community members
To register users on your site, start by creating a group registration form that includes all the necessary data to verify a user. ProfileGrid simplifies this process, offering pre-existing information fields within the plugin that you can easily incorporate into your form. To create these registration forms, you’ll first need to create User Groups to which you can subsequently add users.
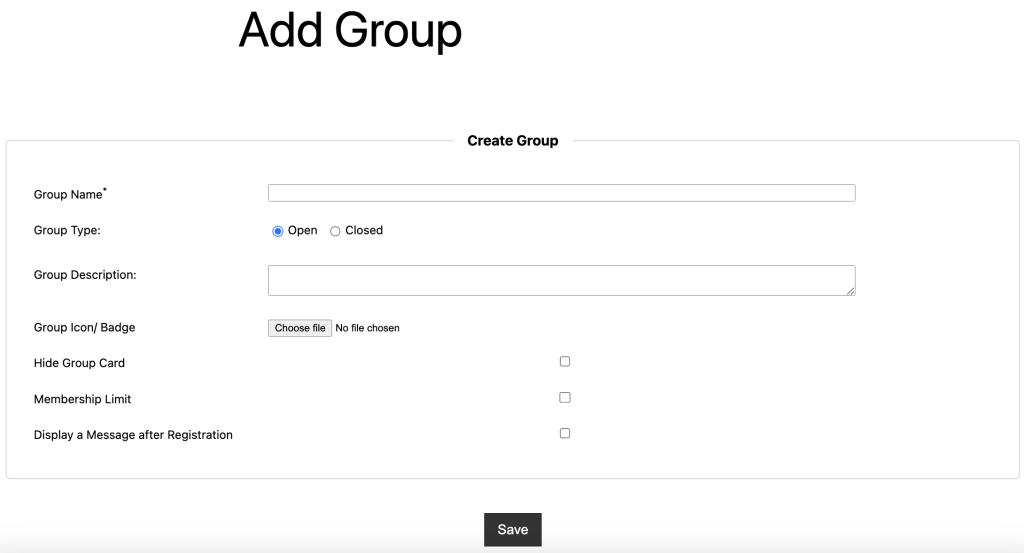
So first let’s create Groups With ProfileGrid. Click on the ‘ProfileGrid’ option to land on the ‘Group Manager’ page. By clicking the ‘New Group’ option on the top left corner you create new groups.
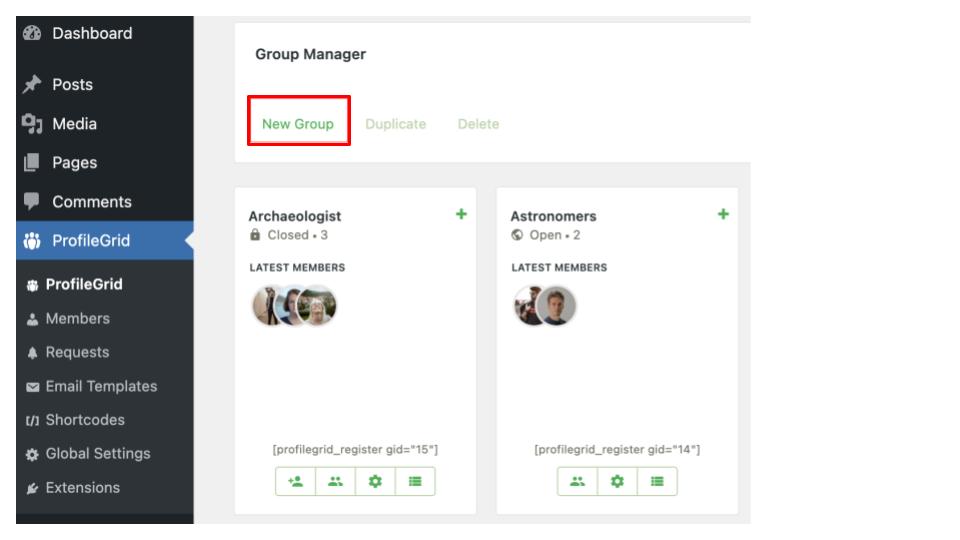
Next you give a name to the New Group which creates the group. Then, click on the group to change the group settings. To start adding information fields to your group’s profile page, click on the ‘+’ sign.
Assigning Pages
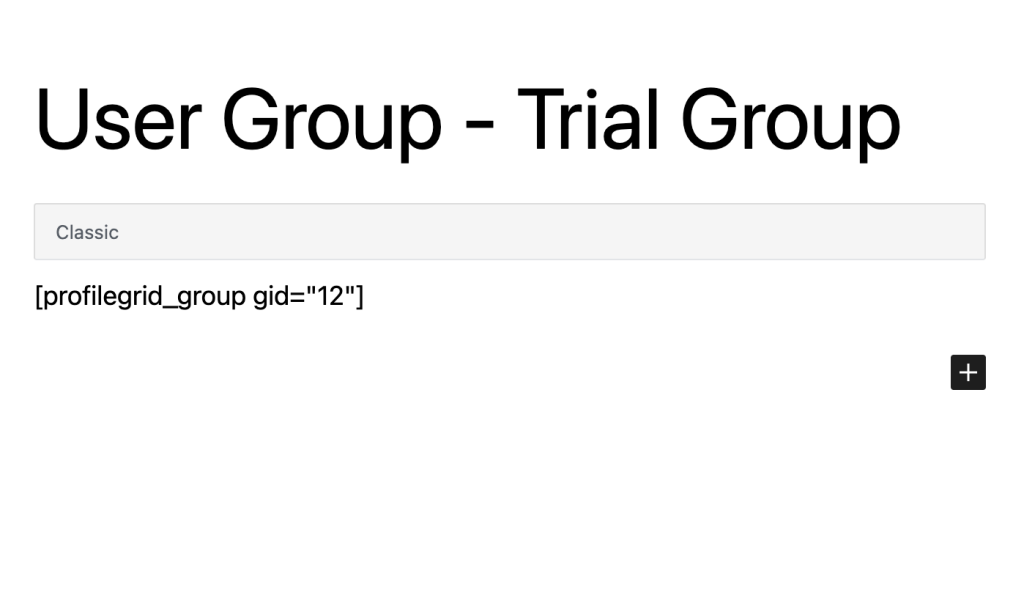
Now go ahead and create your registration page. As mentioned earlier ProfileGrid creates a few default pages and the Registration page is among them. So take the shortcode [profilegrid_register gid=”x”] from the shortcodes page and paste it on the Registration page. Now in place of x put the group id of your newly formed group to which you have added information fields and click on ‘Publish’.
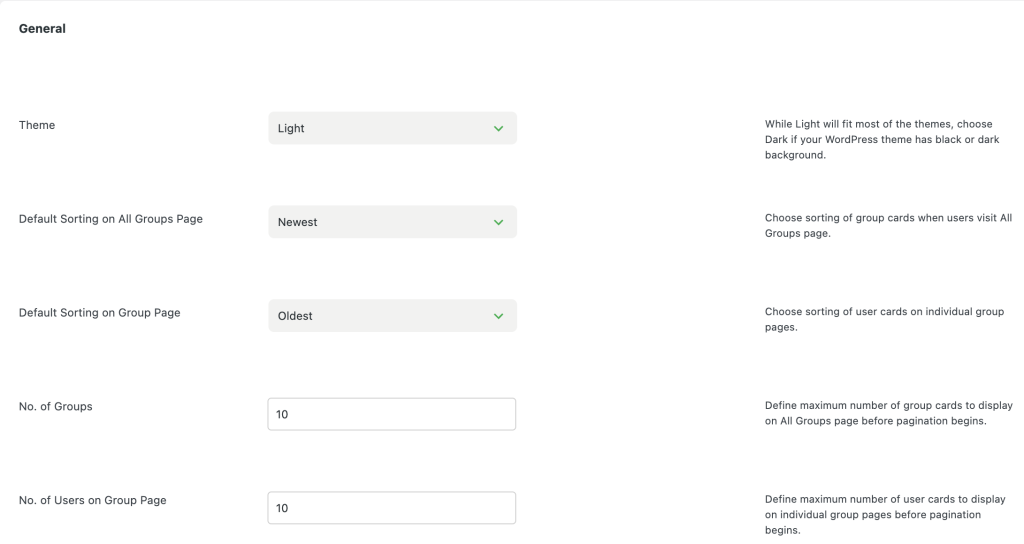
This action will move the fields we added to the group onto the registration page. When users register, they will complete these fields, and after submission, their provided information will appear on their profile pages. Now, let’s move on to the page assignment. To display this page on the frontend, you need to assign it. To do this, start by going to the ‘Global Settings’ within ProfileGrid’s options, then select ‘General.’ This will take you to a page where you can customize the appearance of the frontend profile and assign pages, among other options.
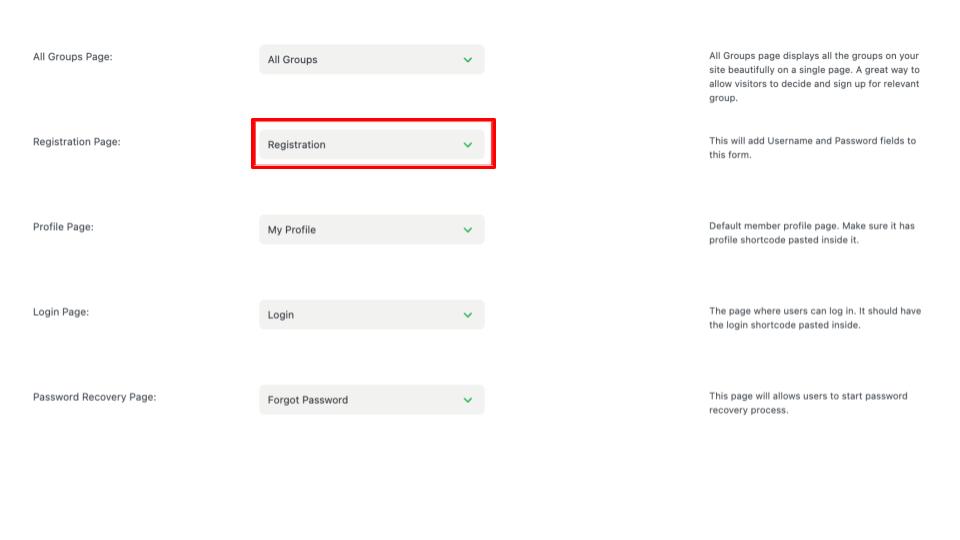
As you can see from the above image we selected the ‘Registration’ page where there is option to assign this particular page. Likewise, on the same page, you can decide the page where user will redirect after completing the registration form or after the user log in. All these pages are created in the same manner we created the registration page. For example, paste the shortcodes [profilegrid_login] or [profilegrid_user_groups_area] on the default pages created by ProfileGrid, publish them and then assign them.
Creating Group Wall
ProfileGrid also gives the option to create individual walls for individual groups. Just take the shortcode [profilegrid_wall_post] from shortcode’s page and paste it on the “Group Wall” page then select the group on which it has to appear.
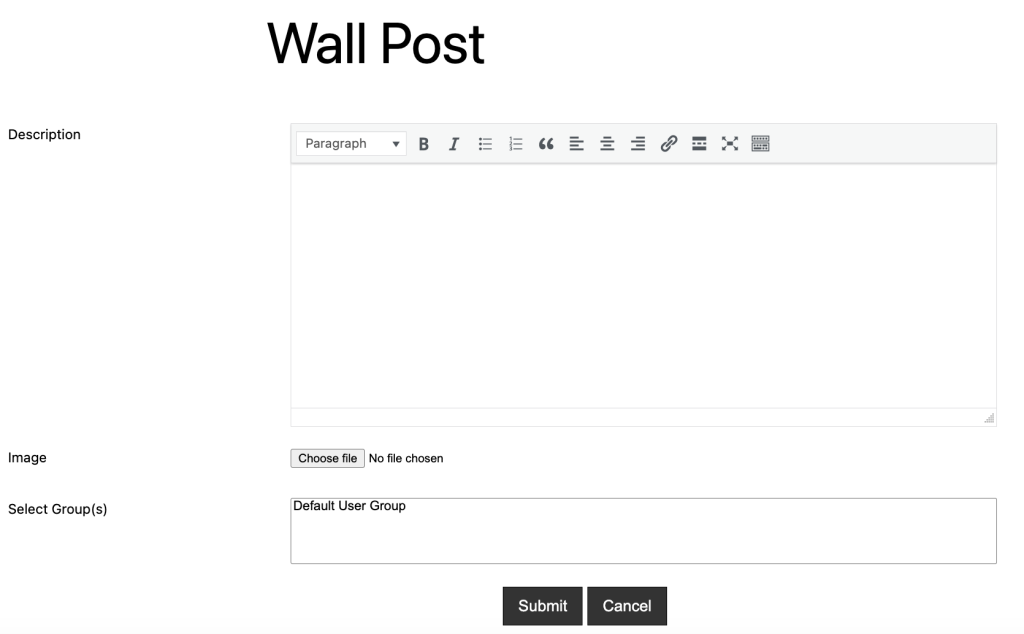
Given above is the frontend view of a group wall. This page will generate interaction between members of a specific group. Here they can communicate, share photos, comment on other’s posts.
Frontend Group Creation
As seen above ProfileGrid allows users to create a complete community-based site. Where users, not only get to interact with each other, they also have significant roles. The frontend group creation is one such role that registered users can enjoy. This, in turn, will help your site to grow and become robust, attracting more and more users. Here is a tutorial to set up groups from frontend user profiles.
This requires Frontend Group Creator Extension. Install the extension and enable the “Frontend Group Creator” in global settings. From ProfileGrid’s shortcode page copy the shortcode [profilegrid_new_group] and paste it under a new page and name the page. Then, you will find a new page has appeared on the ‘All Pages’ page with the name given by you. This will publish a form on the frontend which will allow registered users to create groups.
In this guide on how to create a community site using WordPress, we discovered that ProfileGrid is a prime example of a user-friendly plugin seamlessly compatible with WordPress. It empowers users to establish effective community sites without requiring coding skills. Create your first community site in WordPress and let us know how it goes.